
You’ve survived winter. You’ve tolerated the closed windows, the dusty corners and the mysterious pile of clutter everyone walks past but nobody claims responsibility for.
Now spring is approaching, which means it’s time to let some fresh air in and remind the house what clean looks like.
The good news is that spring cleaning doesn’t have to swallow your entire weekend. This realistic checklist breaks everything down room by room, with practical shortcuts and suggested times. No judgement, no impossible standards and no expectation that your pantry will suddenly look like it belongs on Instagram.
If you would rather spread the cleaning across several days, follow our spring cleaning schedule and tackle one manageable area at a time.
Your Room-by-Room Spring Cleaning Plan
- Restock Your Cleaning Supplies First
- HIZERO F300 Cordless Hard Floor Cleaner
- HIZERO F600 Cordless Hard Floor Cleaner
- Always Work From Top to Bottom
- Make the Floor Your Final Job
- The Spring Cleaning Checklist
- The Final Walk-Through
- Keep It Clean Without Starting Again Next Weekend

Restock Your Cleaning Supplies First
Before you start, make sure you have everything you need in one place. Nothing kills cleaning momentum faster than realising the glass cleaner is downstairs when you’re already balanced halfway up a step ladder.
Keeping everything together in a caddy makes it much easier to move from room to room. Here’s how using cleaning caddies can help you stay on top of the housework.
Your spring cleaning kit might include:
- Microfibre cloths
- All-purpose cleaner
- Degreaser
- Glass cleaner
- Scrubbing brush
- Rubber gloves
- Garbage bags
- A vacuum cleaner for carpets and upholstery
- A mop or hard-floor cleaner
- A laundry basket for items that belong elsewhere
Move small furniture, open the windows and put on a playlist, podcast or audiobook. Preferably something loud enough to drown out anyone asking, “Have you seen my charger?”
Always Work From Top to Bottom
Start with the highest surfaces and work your way down.
Remove cobwebs, dust ceiling fans and wipe the tops of cupboards before moving on to shelves, furniture and benchtops. All the dust and crumbs that fall can then be collected when you clean the floor.
Otherwise, you’ll finish the room, look up, spot a dusty ceiling fan and quietly reconsider every decision that brought you to this moment.
For more ways to make regular cleaning less exhausting, try these simple home cleaning tips to keep your house bright and clean year-round.
Make the Floor Your Final Job
Once every surface has been dusted, wiped and cleared, finish with the floor.
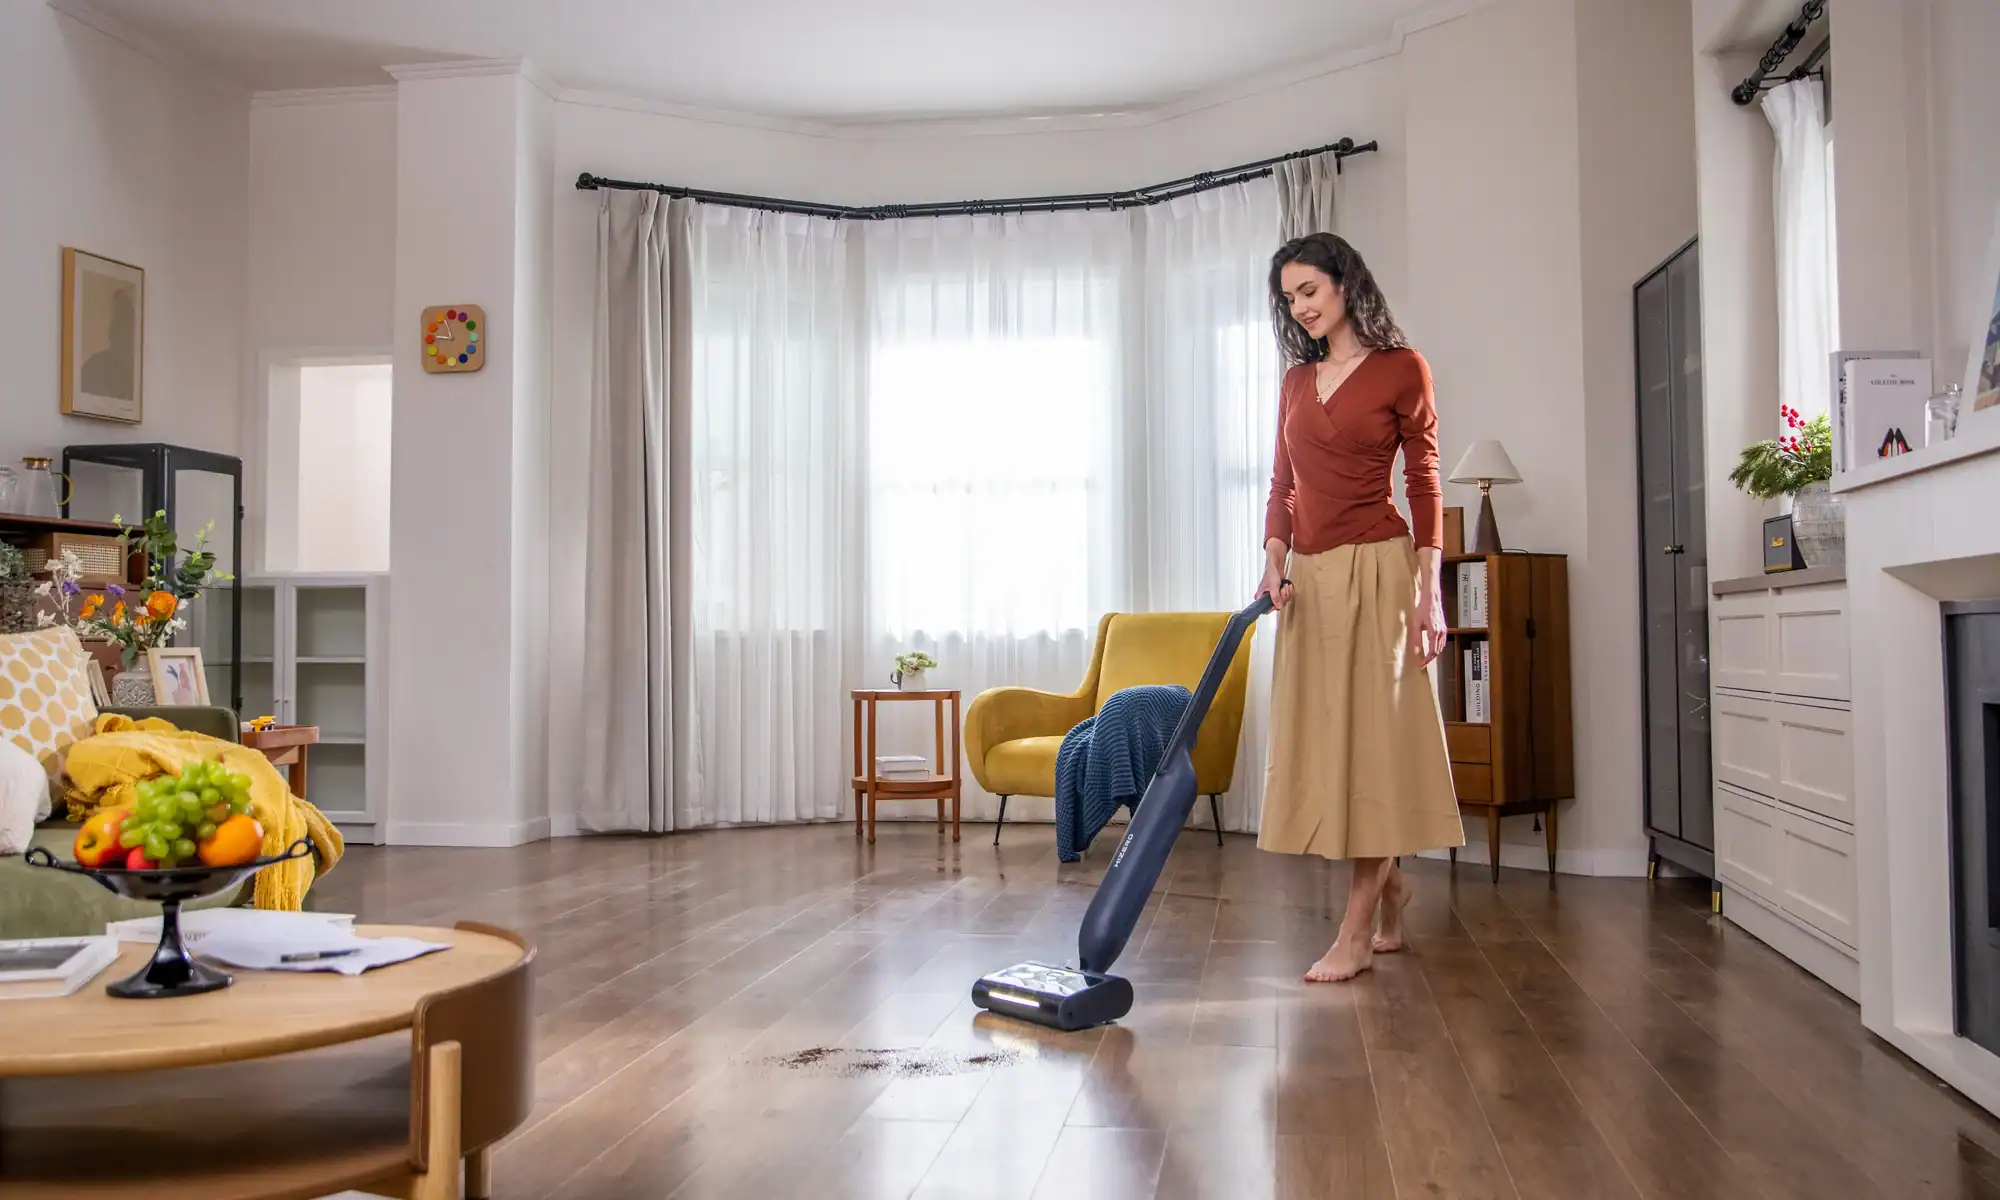
If you have sealed hard flooring, using one appliance to sweep and mop can remove an entire step from the routine. HIZERO hard-floor cleaners use a polymer roller rather than vacuum suction to collect dust, hair, solid debris and liquid spills while mopping.
Fresh water is applied to the roller during cleaning, while dirty water and solid waste are collected separately. It is a much nicer arrangement than pushing increasingly questionable mop water around the room and hoping for the best.
HIZERO can be used on sealed, water-resistant hard floors, including tile, timber, vinyl and hybrid flooring. It is not designed for carpets or unsealed floors, so always check your flooring manufacturer’s care instructions first.
If a new floor cleaner is on your spring cleaning list…
HIZERO’s Afterpay Day offer includes up to 25% off RRP on selected hard-floor cleaners until 17 August 2026. The lightweight HIZERO F300 is currently $599, reduced from $799, while the larger-capacity F600 is $849, reduced from $999.
Prices and availability were correct at the time of publication. Afterpay is available at checkout, subject to approval. Afterpay eligibility criteria, late fees and terms and conditions apply. Credit checks may apply. Visit Afterpay for full terms.
The Spring Cleaning Checklist
Step 1: Prepare for Battle
Allow approximately 15 minutes.
Before you unleash the cleaning products, spend a few minutes preparing each room.
- Gather your cleaning supplies.
- Open windows to improve ventilation.
- Move small furniture and rugs.
- Empty rubbish bins.
- Put misplaced items into a laundry basket.
- Start with ceiling fans, vents and high shelves.
The laundry-basket trick is particularly helpful. Instead of stopping every three minutes to return a toy, shoe or random cup to another room, place everything in the basket and sort it at the end.
Do not start reorganising every drawer while you clean. That is how a quick spring refresh becomes an eight-hour archaeological dig through birthday candles, takeaway menus and unidentified charging cables.
If clutter is the bigger problem, these family-friendly systems for managing everyday essentials can help create sensible places for shoes, school bags, paperwork and everything else currently living on the floor.
Step 2: Clean the Kitchen
Allow approximately 45 minutes.
The kitchen is where grease, crumbs and expired pantry items come together to form their own little ecosystem.
Work through it one section at a time:
- Clean the inside of the microwave.
- Wipe fridge shelves and drawers.
- Check the pantry for expired food.
- Degrease the rangehood and stovetop.
- Clean the oven or run its cleaning cycle.
- Wipe splashbacks, benchtops and cupboard fronts.
- Clean handles and switches.
- Scrub and rinse the sink.
- Move small appliances and clean underneath them.
- Finish with the floor.
When checking the pantry, use common sense. If you can’t remember buying it and the label looks old enough to vote, it may be time to let it go.
The kitchen floor should always be one of the last jobs. By then, the crumbs, dust and whatever was hiding underneath the toaster will have made their way down.
If your kitchen needs more than a quick reset, these nine ways to spring your kitchen to life cover commonly forgotten jobs such as the burners, fridge, dishwasher, kettle and bin.

Step 3: Deep-Clean the Bathroom
Allow approximately 30 minutes per bathroom.
Bathrooms have a special talent for looking perfectly acceptable until the sunlight hits the shower screen.
Start by clearing the benches and shower shelves so you can see what you’re working with.
- Remove toiletries from benches and shelves.
- Throw out expired or empty products.
- Descale the showerhead and taps.
- Scrub the bath, shower, tiles and grout.
- Clean mirrors and glass.
- Wipe cupboard fronts and handles.
- Wash or replace the shower curtain and liner.
- Clean the exhaust fan and vents.
- Disinfect frequently touched areas.
- Clean the floor last.
Work from the driest part of the bathroom towards the wettest. This helps prevent you from stepping back across the freshly cleaned floor while holding a dripping cloth and questioning your life choices.
Pay extra attention to taps, handles and the area around the basin, where toothpaste apparently enjoys expressing itself through interpretive splatter.
Step 4: Refresh the Living Areas
Allow approximately 30 to 40 minutes per room.
Living areas collect everything: dust, pet hair, toys, cups, chargers and cushions that nobody has arranged properly since approximately 2019.
- Remove cobwebs from ceilings and corners.
- Dust ceiling fans and light fittings.
- Wipe shelves, picture frames and electronics.
- Wash or vacuum curtains and blinds.
- Clean underneath and behind furniture.
- Wipe skirting boards and windowsills.
- Wash removable cushion covers.
- Declutter coffee tables and other surfaces.
- Vacuum carpets and upholstery.
- Clean sealed hard floors.
Check underneath the lounge carefully. You may find loose change, three hair ties, several snack crumbs and the remote everyone accused everyone else of losing.
Pet owners should pay particular attention to skirting boards, corners and underneath furniture, where fur quietly gathers until it has enough mass to qualify as another pet.

Step 5: Tackle the Bedrooms
Allow approximately 30 to 40 minutes per bedroom.
Bedrooms often look clean because we have become extremely skilled at closing wardrobe doors.
- Strip and wash the bedding.
- Rotate the mattress if recommended by its manufacturer.
- Dust bedside tables, lamps and bedheads.
- Clean mirrors and windowsills.
- Wipe skirting boards.
- Vacuum underneath the bed.
- Sort clothing from the chair that has become a second wardrobe.
- Donate clothes and bedding you no longer use.
- Vacuum carpets or clean sealed hard floors.
Try not to empty the entire wardrobe onto the bed unless you have enough time to finish the job. Otherwise, bedtime will arrive and you’ll be sleeping beside a mountain of clothes you last wore in 2017.
Step 6: Sort Out Entryways and Hallways
Allow approximately 20 minutes.
These are some of the busiest areas of the home, yet they are often ignored until the shoe pile becomes a genuine trip hazard.
- Wipe the front door and frame.
- Clean doorknobs, handles and light switches.
- Organise shoes, bags and coats.
- Shake out or wash doormats.
- Dust skirting boards.
- Vacuum carpeted stairs.
- Clean hallway floors.
- Wipe accessible windows and glass doors.
Create a designated place for frequently used items such as shoes, keys, bags and umbrellas. It won’t guarantee that anyone uses it, but at least you have established where everything is theoretically supposed to live.

Step 7: Clean the Windows and Glass
Clean windows on a cloudy day or when they are out of direct sunlight. Heat can cause the cleaning solution to dry too quickly and leave streaks.
- Dust window frames and tracks.
- Clean the inside of the glass.
- Wash accessible exterior windows safely.
- Wipe mirrors and glass tabletops.
- Remove fingerprints from glass doors.
- Dry around the edges to prevent drips.
Clean windows have an unfair ability to make the entire house look better, which is useful when you are rapidly losing enthusiasm.
Always use a stable step ladder when required and avoid leaning out of windows to reach exterior glass. No spotless window is worth becoming the main story on the evening news.
Step 8: Finish the Forgotten Jobs
If you still have some energy—and can feel your arms—move on to the extras that are easy to overlook:
- Wash rugs and mats according to their care labels.
- Clean outdoor furniture.
- Sweep the porch or balcony.
- Wipe bins and recycling containers.
- Clean or replace air-conditioning filters.
- Dust indoor plants.
- Clean remote controls and frequently handled devices.
- Check smoke-alarm batteries.
- Remove unwanted items from the garage or storage area.
You do not need to complete every task in one day. Spring is a whole season, not a surprise inspection.
The Final Walk-Through
Once the major cleaning is complete:
- Empty and rinse cleaning equipment.
- Wash used cloths and mop heads.
- Put cleaning supplies away.
- Take rubbish and donations out of the house.
- Return furniture and rugs.
- Open the windows for some fresh air.
- Walk through each room and check for anything you missed.
Then stop.
Do not invent another job because you suddenly noticed the junk drawer. The junk drawer has survived this long and can wait for another day.

Keep It Clean Without Starting Again Next Weekend
The easiest way to make next spring’s clean less intimidating is to stay on top of a few smaller jobs throughout the year.
Our weekly cleaning checklist breaks routine housework into a more manageable schedule. You can also try these 20 daily habits that help keep the house clean before the clutter, crumbs and laundry stage another takeover.
Spring cleaning doesn’t need to mean scrubbing every corner of the house in a single day. Break the work into manageable sections, clean from top to bottom and choose tools that reduce the number of separate jobs.
Once you’re finished, sit down and enjoy your beautifully refreshed home—preferably before someone walks across the clean floor with muddy shoes.


Aw cheers! We’ll take “top quality content” when the content involves golden syrup dumplings any day Hope you give them…